Wednesday, December 14, 2011

Christmas Season in Vienna


It's the Christmas season in Vienna, and that means the Advent markets are here.


My favorite market of all spreads out in front of the massive Karlskirche, a baroque cathedral built in the early 18th century.

Most of folks selling at the Karlskirche have made their items by hand.
Look at these lovely glass ornaments.


Vienna is THE place to be if you love hats.  These are hand crafted.


Don't you love this guy?


There are lots of wonderful soaps and lotions to smell at the market.


Don't forget the snacks!  Roasted chestnuts - or maroni - and sugared almonds.  Oh my!


Of course, what do you suppose keeps us all warm while we wander about?  You guessed it!  Gluhwein.


If you ever make it to Vienna at during the holiday season, don't miss the Karlskirche market.

Happy Holidays!

Wednesday, November 23, 2011

Val's Braided Cardamom Egg Bread

Braided Cardamom Egg Bread

Holiday feasting time is here!  I imagine there will be lots of baking in your house...

Remember when preparing a feast that special care must be given in the selection of bread.

Why?  Well, if you are preparing a heavy meal - turkey, stuffing, sweet potatoes, pilaf (yes, we must have that every holiday in my house) - then you want to have a light bread.  One of the easiest light breads to make is egg bread.  It is airy, yet flavorful.

Here is one of my favorite recipes.  It it a braided egg bread with cardamom; it smells earthy and sweet - the way the holidays should smell!

Ingredients:
  • 2 eggs
  • 2 tbsp milk
  • 1/2 cup beer
  • 2 tbsp butter
  • 2 tbsp honey
  • 3 cups flour
  • 1.5 tsp salt
  • 2 tsp dry yeast
  • 1/4 tsp cardamom

For the glaze:  one egg beaten with one tbsp of water
For the finishing touch: sliced almonds

Preparation:

Using your electric mixer with a paddle attachment or your bread machine, combine the ingredients – keeping in mind your machine’s instructions.

When kneading is done, let the dough rise for about 45 min. or until it has doubled in size.  (If you prefer hand kneading, see my note on hand kneading in my Best Ever Polenta Pumpkin Seed Bread Recipe.)

Before rising

While the dough is rising line a large baking sheet with parchment paper.


After rising

Making the braid:

Once the dough has risen, turn it out onto a lightly floured work surface.  Divide the dough into three equal portions and shape into three 12-inch long ropes.  Place the ropes on the baking sheet.

Your ropes are ready for braiding!


Begin braiding from the center. Once you have braided one side, turn the sheet around and braid the other.

Just 1/2 more to do...

Now it is starting to look good!  Cover the dough loosely with some plastic wrap and let it rise until it has almost doubled in size.  (This could take as much as 45 min.)

Twenty minutes before baking, set your oven rack to the middle and preheat the oven to 350 degrees Fahrenheit (a little less than 180 degrees C).

Ready to apply the egg glaze


Beat the egg and water together with a fork, and apply the mixture to the surface of the loaf.  Then sprinkle the almonds over it.

With the almonds on, we are ready to bake!

Bake the braided loaf for 35 to 40 minutes, until it has turned a deep golden brown.  Immediately remove from the baking sheet to the cooling rack.  Let cool before slicing.

Voilà!

Enjoy the holidays with your family and friends, Everyone!

There is so much to be thankful for...

Best wishes, and come back soon.


Thursday, November 17, 2011

Waiting for my soul to catch up


A good friend once told me that after a long trip she has to stay still and wait for her soul to catch up.  I think I understand.  After traveling for a week, I have that floating feeling.  This is a good time to reflect.


I am thinking of autumn today.  Autumn is about endings - the end of long days, of sunny afternoons in the park or on the water's edge, of the garden's blooms...


Yet endings can be beautiful.  Recently I took walk in the park to witness the colors of autumn - greens transformed in rich yellow-golds and flaming russet-oranges.  A lovely ending...


Sunday, October 16, 2011

Fall Flower Bouquet Tutorial

Fall flower bouquet - short vase


Wondering where I have been?  Busy helping my daughter plan her fall wedding!  I was so excited when she asked me to take the lead on decorations, but I had no idea what I was getting myself into.  No worries.  I am always up for a challenge, and the accompanying opportunity to learn.

My latest teacher is my talented friend Natasha.  Not only is she a gifted artist; she is also a fabulous floral designer.  Last week Natasha taught me how to make fall flower arrangements for my daughter's November wedding.  I thought I would share what I learned...


Orange red roses before they are cleaned


The following list is for a tall vase bouquet.  However, if you prefer, you could use a short, five to six inch vase.  Just use one third less flowers.

For the tall bouquet, you will need:

  • One 18 - 20 inch vase
  • 10 - 12 apples and 1 or 2 lemons
  • chicken wire or similar bendable grid
  • 1 bunch of oak leaves
  • 3 orange lilies
  • 5 red or orange daisies
  • 1 small bunch of heather, approx. 1.5 inches in diameter
  • 3 green daisies
  • 6 orange or red roses
  • 3 pink alstroemeria 
  • 3 stalks of dill flower
  • 2 stalks of chinese lantern
  • 6 feet of small gold wire.
  • sisal thread and raffia (optional)

Before beginning the arrangement, be sure to clean all of your flowers.  Their stalks should have no leaves and should be cut at a diagonal.

Using a sharp knife, cut the stem at a diagonal


Now it's time to go to work!

Rinse the vase, and then add the apples into it, making sure to fit them well so that they will not float once the the vase is filled with water.  When you are about two to three inches from the top of the vase, use the lemons to further wedge the apples into place.  (The lemon skin is nice and flexible.)

Add cold water until the fruit is completely covered.  Make sure you will have enough so that the flower stalks will be able to drink!

Beginning to add the water


Apply the chicken wire or grid to the top of the vase.  (Natasha made her own grid out of some wire she had at home.  Clever!)

Natasha makes a grid to fit the vase


The wire grid supports the bouquet


Here's where it really gets fun!

Start adding the oak leaves.  They should be about 16 inches in length, including stem and leaves.

Oak leaves are added at angles


Next add the three lilies, cut at approx. 12 inches in length, making a triangle placement.

Adding the lilies


Add the red/orange daisies (cut at 11 inches), the heather, and the green daisies (also cut at 11 inches).

Keep in mind that this is a tall vase and most of the flowers should be around the edge where they will be seen.

The red daisies before cleaning


Now add the roses, alstroemeria, and dill (all cut at about 12 inches).
Almost done!


Isn't this looking fantastic?!

Next we will use the chinese lanterns to make two garlands.

Chinese lanterns and dill


Cut your length of wire in two so each measures approx. three feet in length.  Remove the lanterns from the first stalk, and wrap each lantern stem along the first wire.  (The process is: one wrap of the wire around a stem, followed by a twist.)  Try to make the distance between each lantern random.  Repeat for the second stalk and wire.

Gold wire and sisal thread


Once your two garlands are complete, hand them over the bouquet.  They look like earrings!

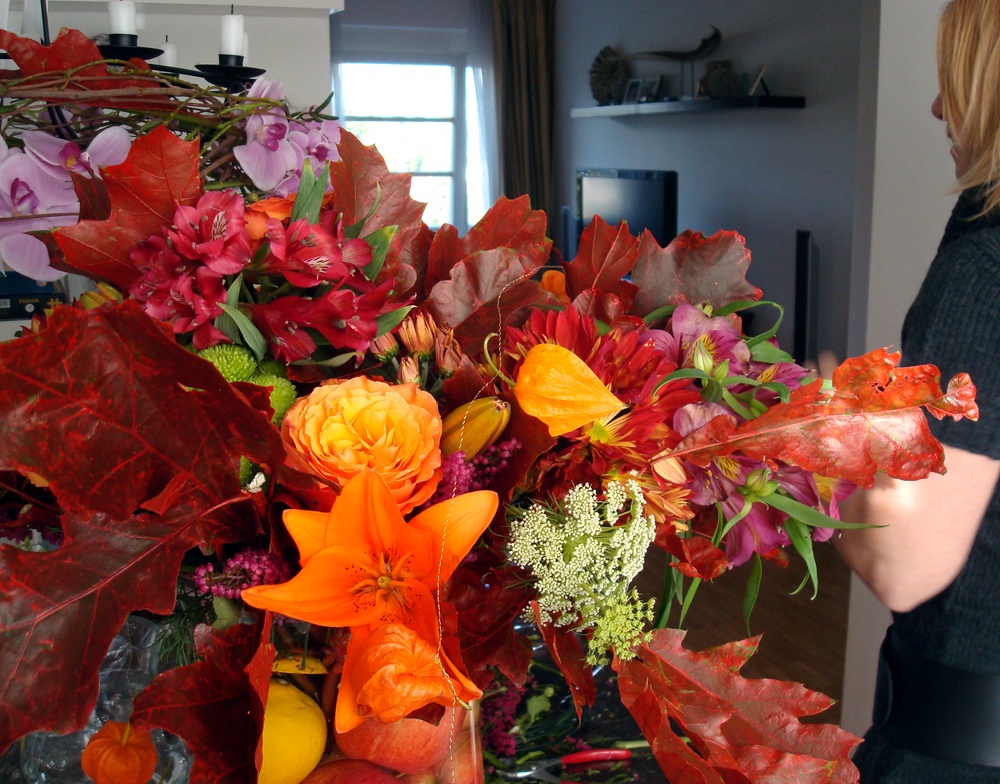
Fall flower bouquet - tall vase


Finishing touches

If you would like, you might also add a bit of raffia to cover any part of the vase that still shows chicken wire.  You could also add bits of orange sisal threads around the bouquet to give a halo effect.

Now imagine a small wedding reception hall full of these tall and short fall flower arrangements!  It will be striking!

Another view of the short vase version


Interested in seeing all of my tutorials?  Please click here.


Sunday, September 25, 2011

Market Baskets - Vienna Style

My style morphing


The wonder of any craft or art form lies in its many expressions.  It morphs and evolves as environments change. 


Color forms


I love making baskets because of the countless expressions these forms can take – shapes, colors, even functions shift.


Here in Vienna folks like to go to the market carrying their own bag or basket.  With that in mind, I have come up with a couple of new designs for my own version of a market basket.


This first one is "Jen's Basket".  I made it for my friend, Jen, who grew up by the sea.  I choose colors and patterns that reminded me of our oceans...


Jen's Basket

Jen's Basket - close up


This second design is called, "Vienna Market".  It is the perfect basket for that jaunt down the street to the market.


Vienna Market Basket


Vienna Market Basket - close up


What do you think?